Spend R 1,200.00 more and get free shipping!
Your cart is empty
Free shipping for all orders over R1500
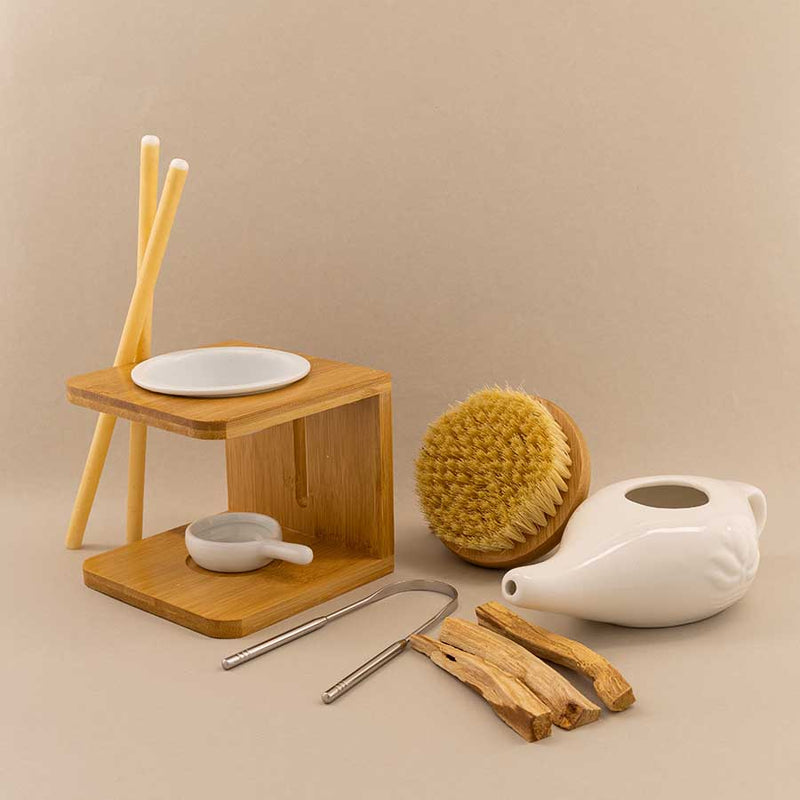
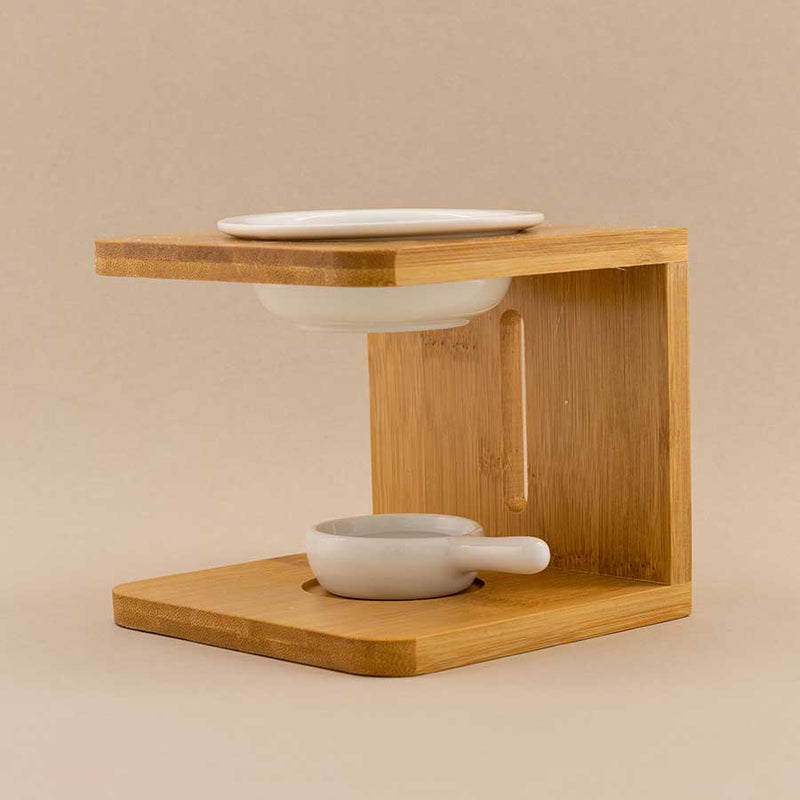
Kit Includes
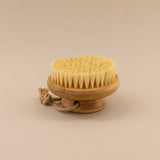
Use a natural fibre Body Brush and ensure it is dry.
Directions for use:
Brush maintenance:Make sure you dust off your brush after you have completed your routine. Wash your brush weekly, and dry it in an open, sunny area to prevent mildew. Avoid sharing your brush with anyone to prevent the risk of infection.Benefits:
How to do abhyanga self-massage:
Benefits:
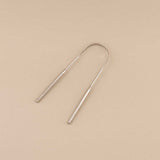
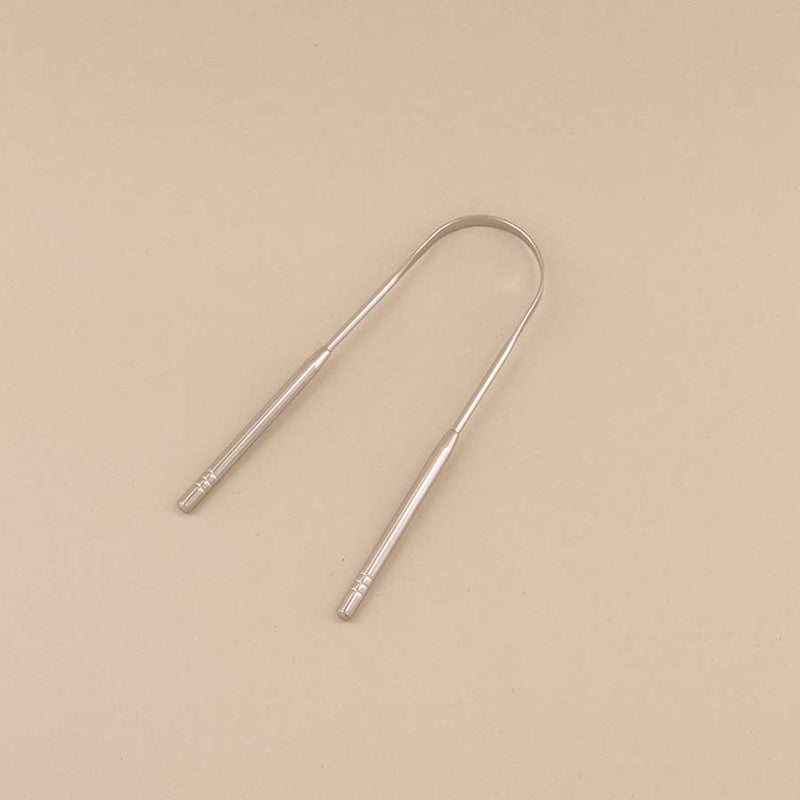
You'll need the perfect stainless steel tongue scraper to perform tongue scraping.Instructions:
It is best to be mindful of how much pressure you're applying. You must be gentle enough to avoid harming your taste buds or breaking the skin but firm enough to scrape up excess debris. When in doubt, start soft and gradually increase the pressure.
Benefits
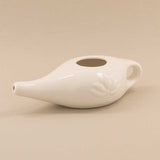
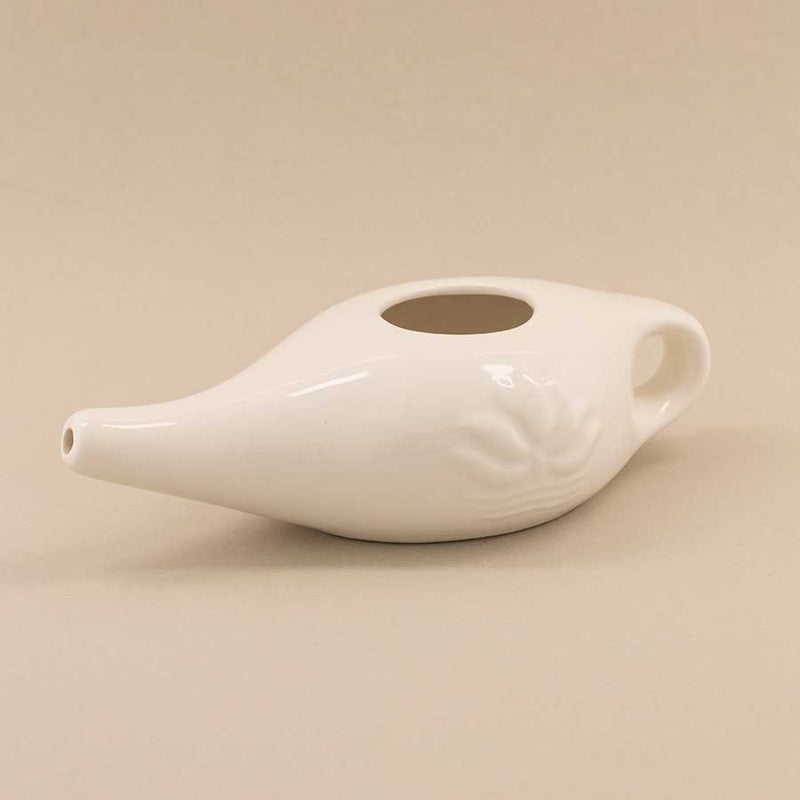
Saline solution Ingredients:
Instructions:
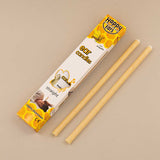
How to use Palo Santo Wood:
All products are available to purchase individually